I'm a perpetual lurker. I rarely finish any of the customizing projects I start. One of my biggest problems is I start projects that are just too ambitious. With that in mind, I wanted to come up with a relatively easy dio/display project that wouldn't involve buying anything new besides paint and other minor purchases.
I got the Shipwreck wave of the new figures last week, and I've been really enjoying tearing these things out of the package. I haven't had this much fun and interest in collecting Joe stuff in a long, long while. At any rate, I thought a simple display base for some of the new figures would be a good place to get back into the hobby.
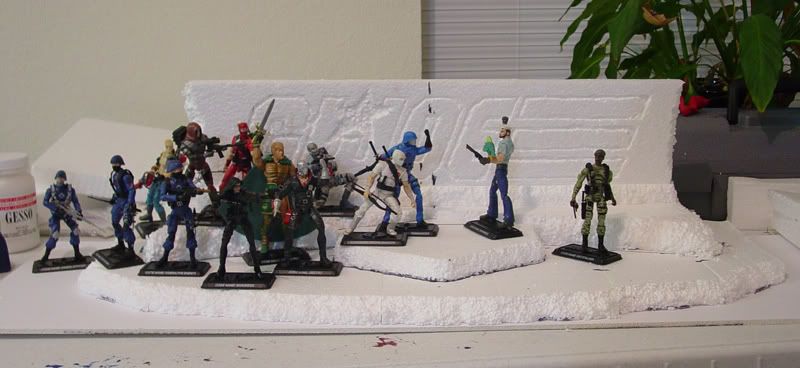
Plan is to use all the styrofoam I've hoarded to build up and carve a rocky, tiered display for the figures. I was planning it out in my mind, posing the new Shipwreck when I remembered the '85(?) catalog art where they're lined up in front of the GI JOE logo carve in stone. I decided to do something similar, and I'm so please with how it looks so far, I wanted to share.
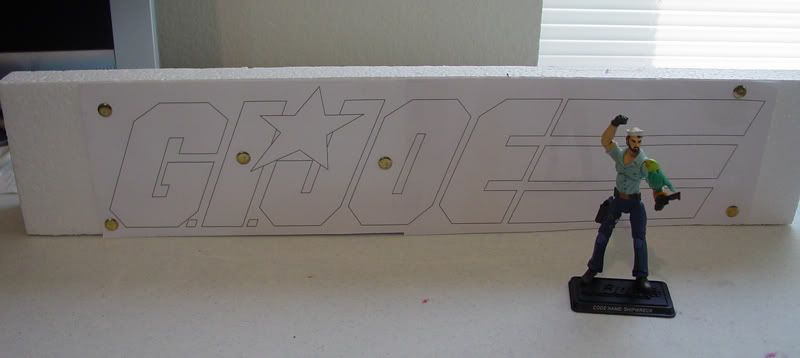
I started by tracing the GI JOE logo from the file repository in Illustrator. Just a simple black outline. Sized it so the logo would be 4x18", and printed it on 2 8.5x11" sheets. lined them up, trimmed them done, taped them together, then went over the whole thing with clear packing tape. I figured the packing tape would make the stencil a little more durable. I tacked it to the piece of styrofoam I'd chosen.
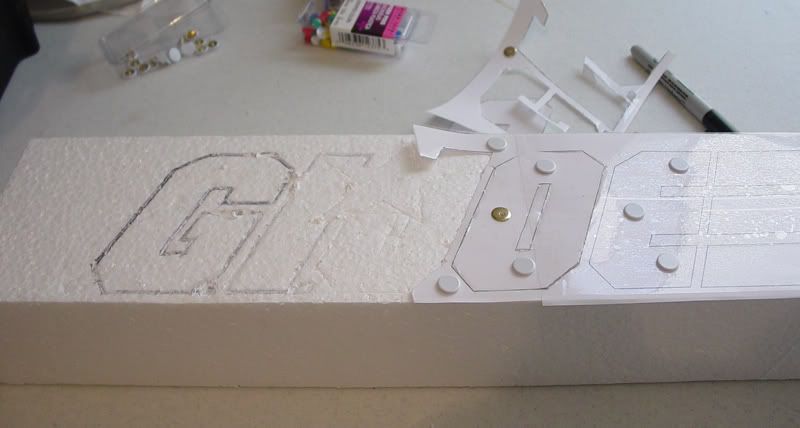
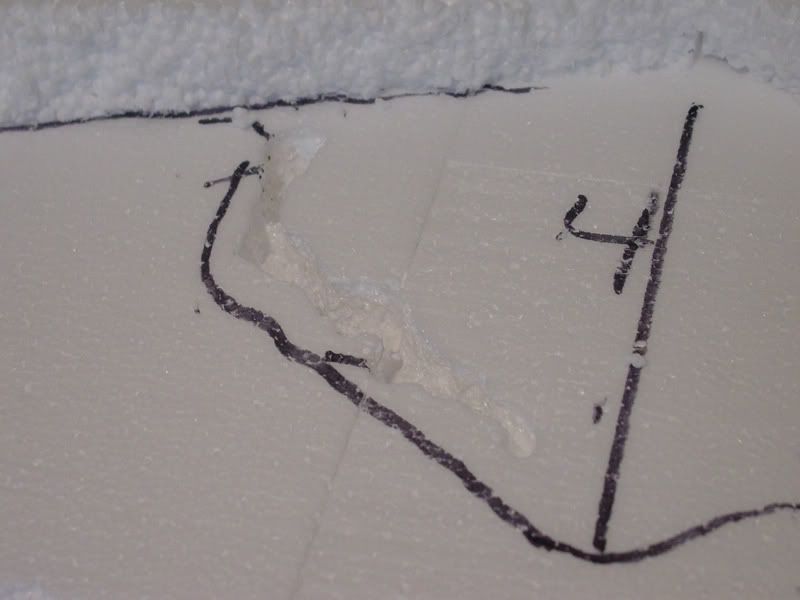
Next I just used an xacto knife to follow the outline. I added more tacks and trimmed down the stencil as I moved along. I started to trace my progress with a sharpie, but the initial cut was sufficient for the next step.
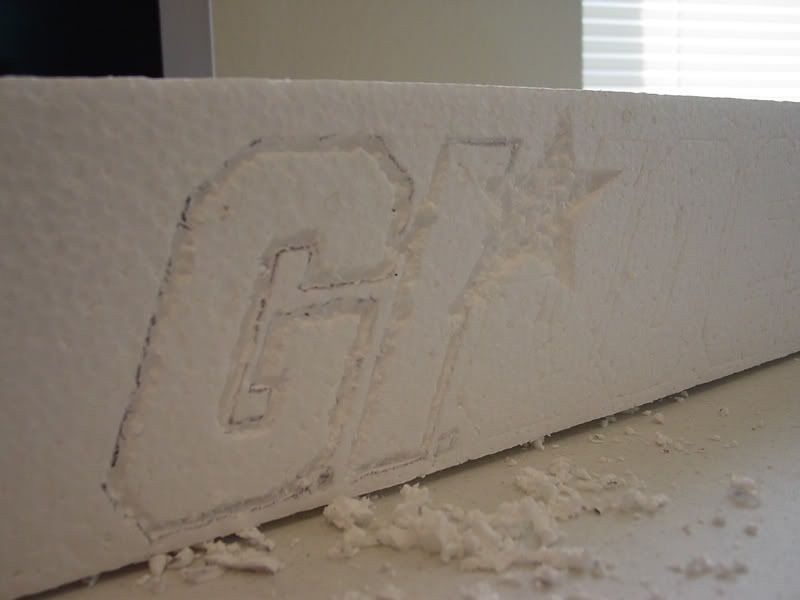
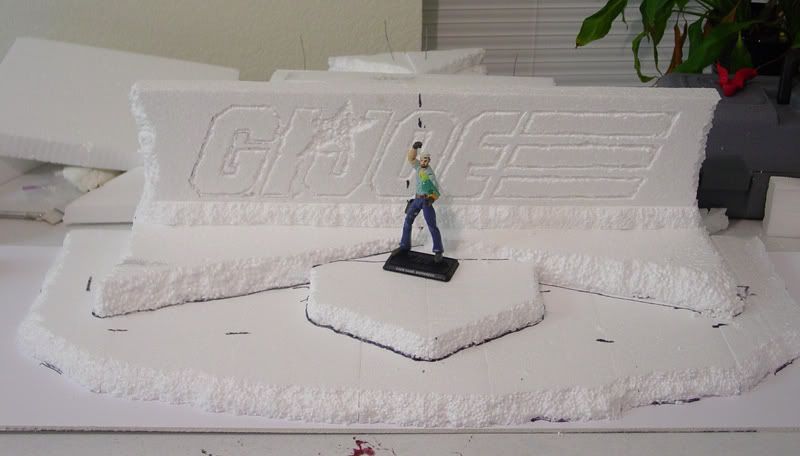
I removed the stencil, and begin to dig out the first cut a little. I angled the blade and followed the inside of the original cut, sort of beveling the logo a bit. Then I'd just scrape the blade lightly along each edge to rough it up a bit. I was worried at first the final result wouldn't be clear enough, but the lines were actually too sharp and needed to be roughed up a bit to look more like cut stone.
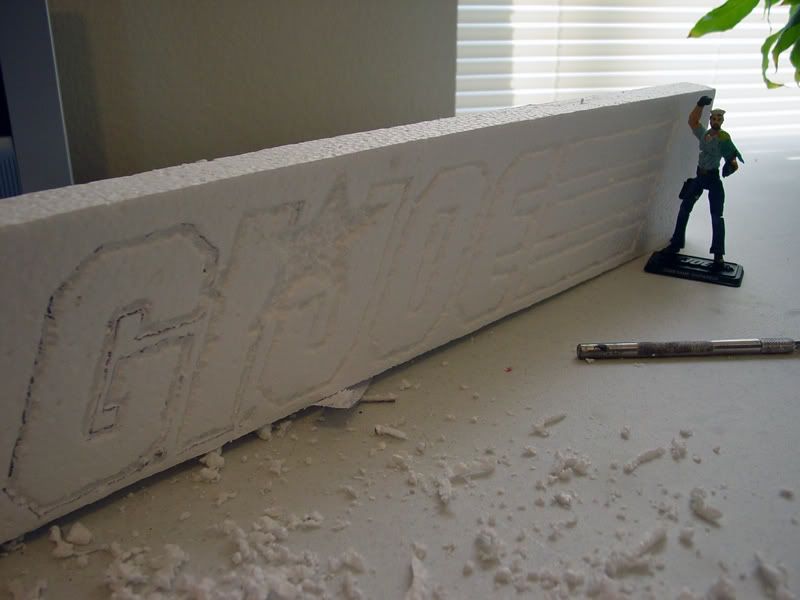
It didn't take more than an hour or so, start to finish. I'm excited it came out this well, I wasn't sure if it carving the foam would work at all. I figured maybe if I started a WIP thread, I'd be more inspired to follow this through and finally finish something!
Next, I'm planning to break up bits of foam to layer for the moutain/tiers the figures will be standing on. I'm wanting it to sort of staircase up around the sides of the logo, so there will be a few spots for figures on each side, with more on top. Once it's pieced together, I'll carve the edges a bit to rough it up and make it look more rock like.
Then it's painting. I've heard spraypaint on foam eats away at the foam, but I also read this can give a good result for rocky terrain. Anyone tried this? I think I'm going to do a gray base coat, with darker washes on the logo and edges to bring out detail.
Anyway, just wanted to share this first step... thought some of the dio-builders might want to see how the foam carving came out.


 "My dear Dr. Burkhart -- you will soon see the distinct advantages of having no scruples whatsoever!"

 I just said a post by Dark Jedi makes sense. I am going ice-skating in Hell tomorrow.